How to install heat tape

Don't run the risk of letting your water pipes freeze. It's relatively easy to install heat tape and it's a good way to prevent major damage to your manufactured home. If your freshwater pipes are already wrapped in heat tape, check that the heat tape was properly installed, and periodically check the heat tape to make sure it isn't worn or frayed.
To check existing heat tapes, use the directions that follow. It's an important safety check of your home. Many manufactured home fires are the result of improperly installed heat tape.
You should apply heat tape to all exterior water supply piping and shutoff valves. Also protect any interior water pipes that run along outside walls or anywhere that the temperature may drop below freezing.
How much heat tape you will need depends on the length, size and type of the pipe. You need to know the pipe length and diameter and the number of valves or faucets along the run. To determine how much heat tape you'll require, consult the manufacturer's guidelines.
CAUTION! Because you are wrapping an electrical wire around your water supply pipes, it's very important that you:
- Read all the directions.
- Use only laboratory-tested heat tape, authorized for use with manufactured homes.
- Do not cross the heat tape back over itself. This could overheat the tape and start a fire.
If your water supply piping is plastic, ONLY use automatic thermostatically controlled heat tape. Non-automatic heat tapes can damage plastic pipes, especially if the taped pipes are covered with insulation.
For this job you'll need automatic heat tape (the kind with a thermostat), electrical tape, and pipe insulation (which could take the form of a waterproof insulated pipe jacket, or pipe insulation with vapor seal cover). Some heat tape kits combine several of these items.
Step 1: Check pipes
Do not install heat tape over leaking pipes. Not only will a slow leak damage insulation, but it may also short out the heat tape. Pay particular attention when you check the pipe joints for leaks.
Step 2: Attach to pipe
Use only automatic heat tape, with heavy rubber insulation around the wires. Do NOT use non-automatic heat tape, as this could damage plastic pipes. Start with the plug end next to the outlet, and run the heat tape the entire length of the freshwater supply pipe. Also wrap the water pipe below ground level, to the frost level. Methods for attaching heat tape to the pipe vary. Some types of heat tape wrap around the pipe, some run along one side of the pipe. Follow the manufacturer's instructions.
Step 3: Attach heat tape
Space wraps according to the manufacturer's guidelines. Use electrical tape, not electrical wire, to hold the heat tape in place. It is very important that you never cross the heat tape back over itself: this creates a real fire hazard.
Step 4: Insulate
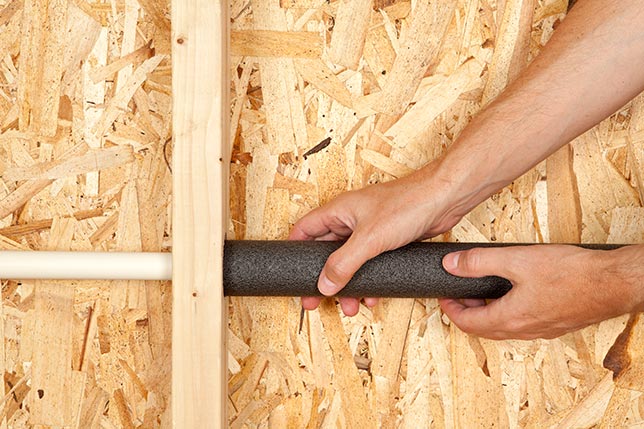
It's a good idea to cover the water pipe and heat tape with pipe insulation or pipe jacketing. If the insulation does not have a weather-protective outer surface, you will need to cover it with a waterproof wrap.
Step 5: Plug it in
Don't forget to plug in your heat tape before the onset of cold weather. Do not use an extension cord. The heat tape must plug directly into a Ground Fault Circuit Interrupter (GFCI) receptacle. You should find a GFCI protected outlet underneath your manufactured home, near the water inlet. If not, you will need to install one.
More tips on safe heat tape installation
The life expectancy of heat tape ranges on usage.
Many tapes now have a thermostat that when the temperature drops below a certain degree, it will kick on.
A few additional issues to watch:
- Heat tape should not be used over the thermal insulation or near flammable materials.
- Check heat tapes at least once a year, paying particular attention to older tape which may develop cracks in the insulation.
- When you purchase a new tape, get the correct size for the intended job. Do not overlap heat tape over itself. Do not wrap tape at a 90 degree bend.
- Install according to the instructions. Not all heat tapes can be used over plastic pipes. Check the recommended usages.
-